Connect Ghost to ConvertKit
A tutorial for connecting your Ghost site to ConvertKit. Uses Javascript and Cloudflare Workers. Beginner friendly and code provided.


To start, let me preface this with a brief explanation of what Ghost and ConvertKit are. If you know what Ghost and ConvertKit are, skip on down to the Ghost + ConvertKit section.
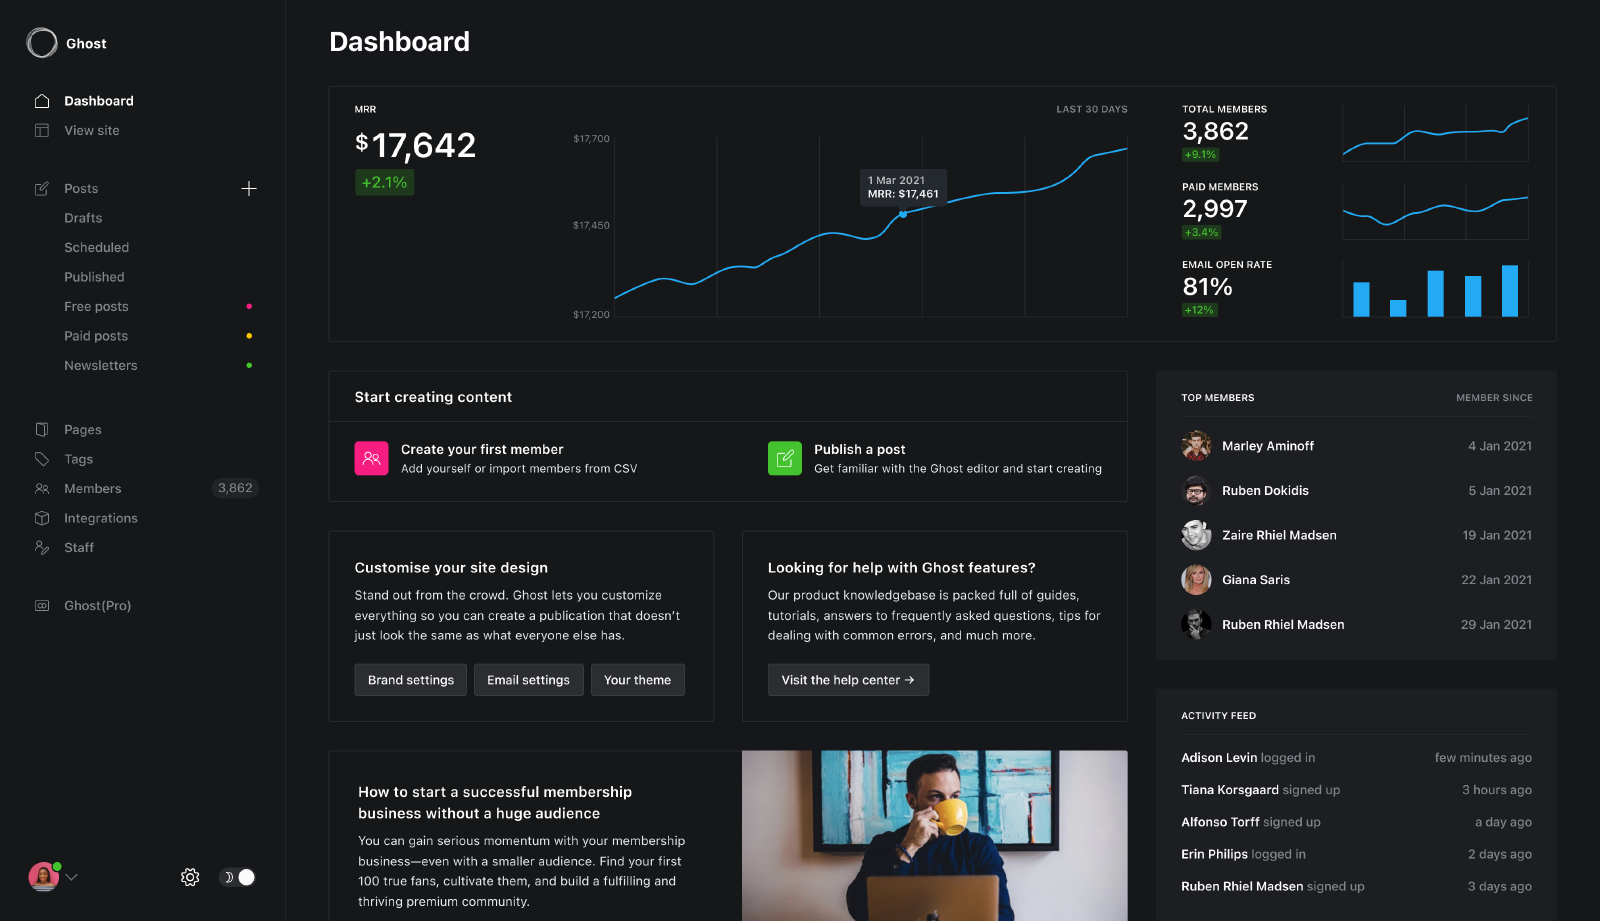
Ghost
Ghost is an open-source content management system built for publishers like us. The Church Factory has run on Ghost since earlier this year, and so far, the experience has been great. Would I suggest you build your church site on Ghost? Probably not. It's for content publishing. But if your pastor wants to start a blog or church wants to start a written content ministry, it may be the tool for you.
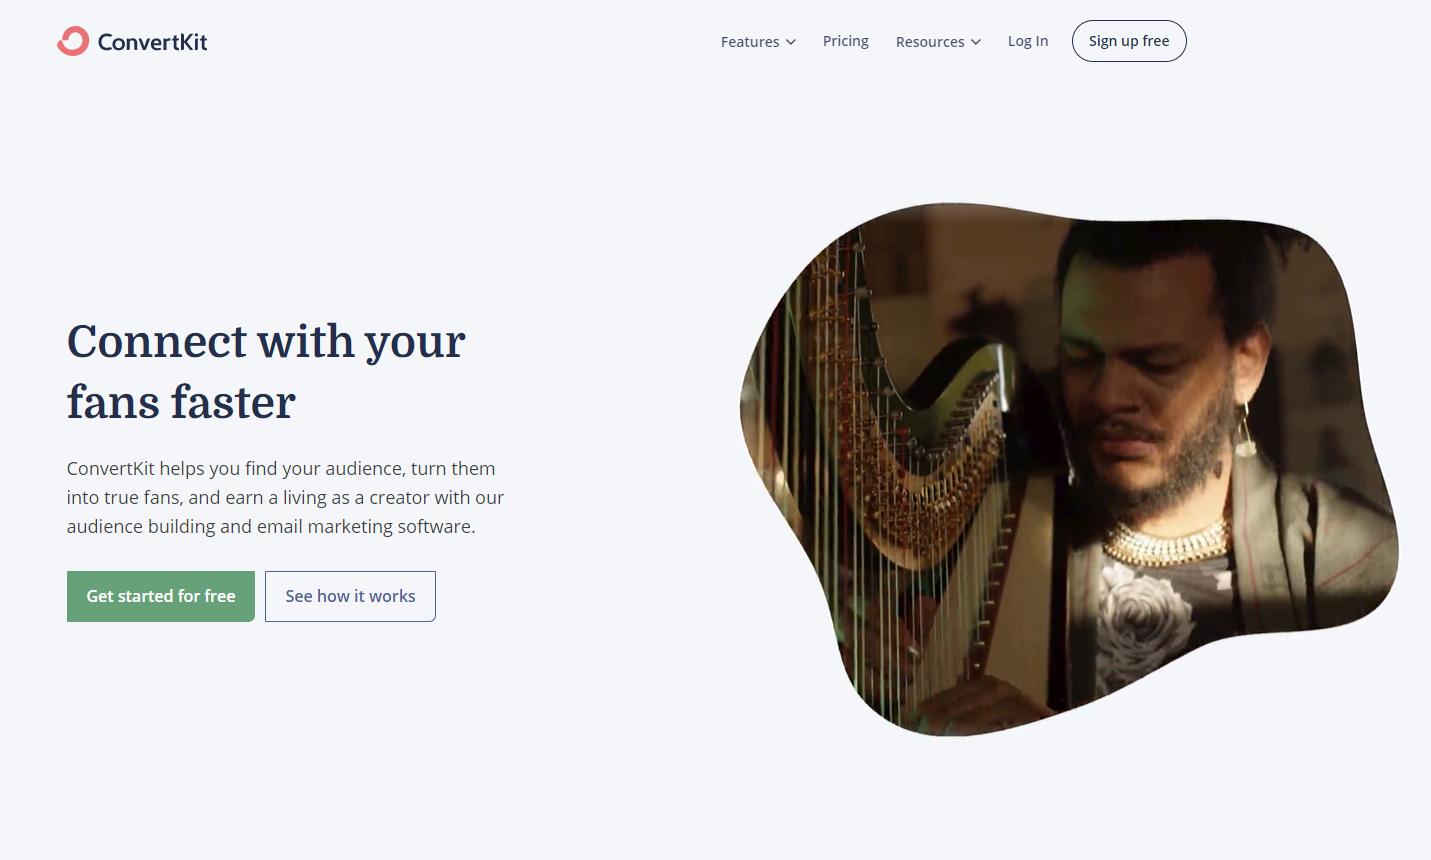
ConvertKit
ConvertKit is an email marketing tool. Think MailChimp, but before they went all CRM'y. I use ConvertKit to store all my email contacts and send out newsletters/marketing emails. ConvertKit has a fairly powerful email editor, built-in landing page creation, automation, and a large integration library. Plus, their API is easy to work with. (Useful for us!) I use it because it has a generous free plan, but I've been happy with it. 😁
Ghost + ConvertKit
My goal in this site (the CTA, if that's you're kind of thing) is for you to subscribe so that you receive emails when I post and join my mailing list. (I don't send out much.) If you're feeling nice or enjoy this content, go ahead and click subscribe in the lower right-hand corner! Thanks!
When you just entered your name and email address, two things happened.
- Your information was stored in Ghost so that you can log back in and receive emails when I publish new posts.
- Ghost sent your email and name to my serverless function, which sent your email and name to ConvertKit and added you as a subscriber to my email list.
It all works rather seamlessly, but there isn't a clear way to do it without some custom code. (Don't worry, I give that to you for free.) The only way to integrate Ghost with ConvertKit out of the box is to use Zapier, and if you ask me, it's way overpriced. So to accomplish the same result, I decided to create a serverless function. You could probably host this somewhere, such as AWS Lambda or a similar service, but I choose Cloudflare Workers. I use Cloudflare for a ton of things already, and for no more than this function will be invoked, it shouldn't cost anything.
For the next few parts, you're going to need some custom Javascript code. If you were following along earlier, you should have access to the following. If not, try refreshing your page. From this point on, you need to be signed up as a member (it's free). Sorry.
The first step is to log into Cloudflare. Once in your Cloudflare dashboard, select the Workers button.
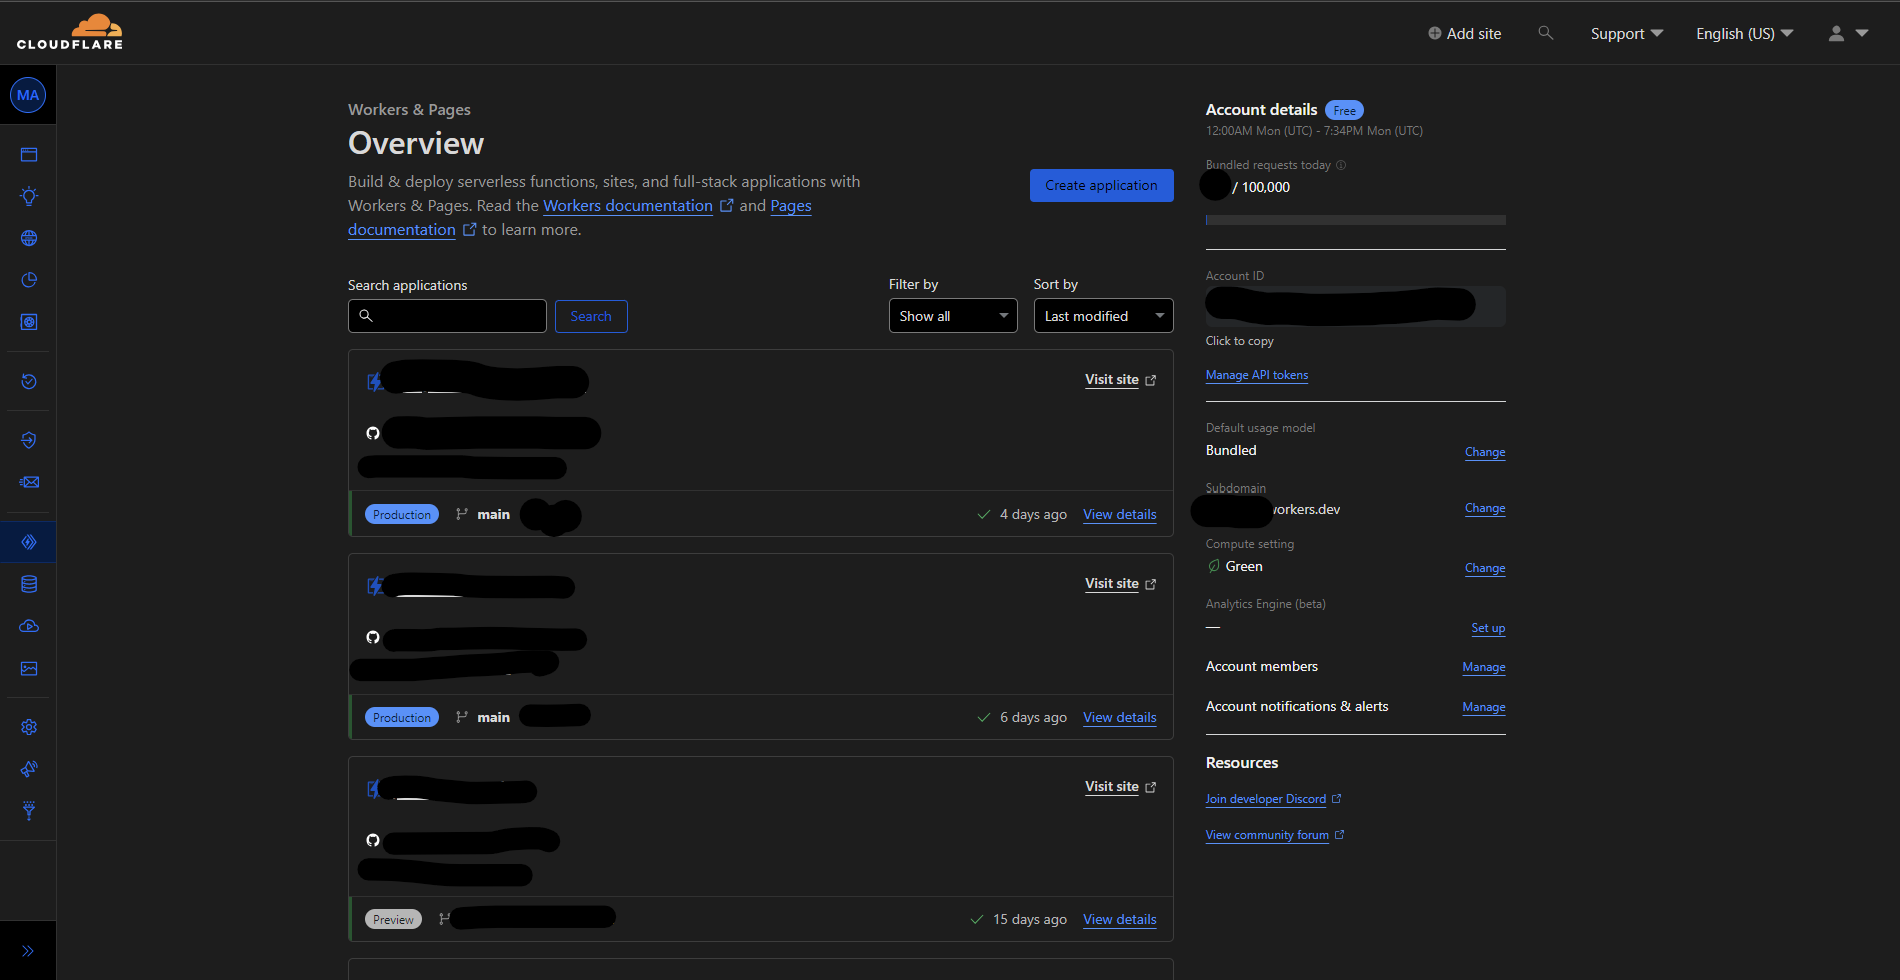
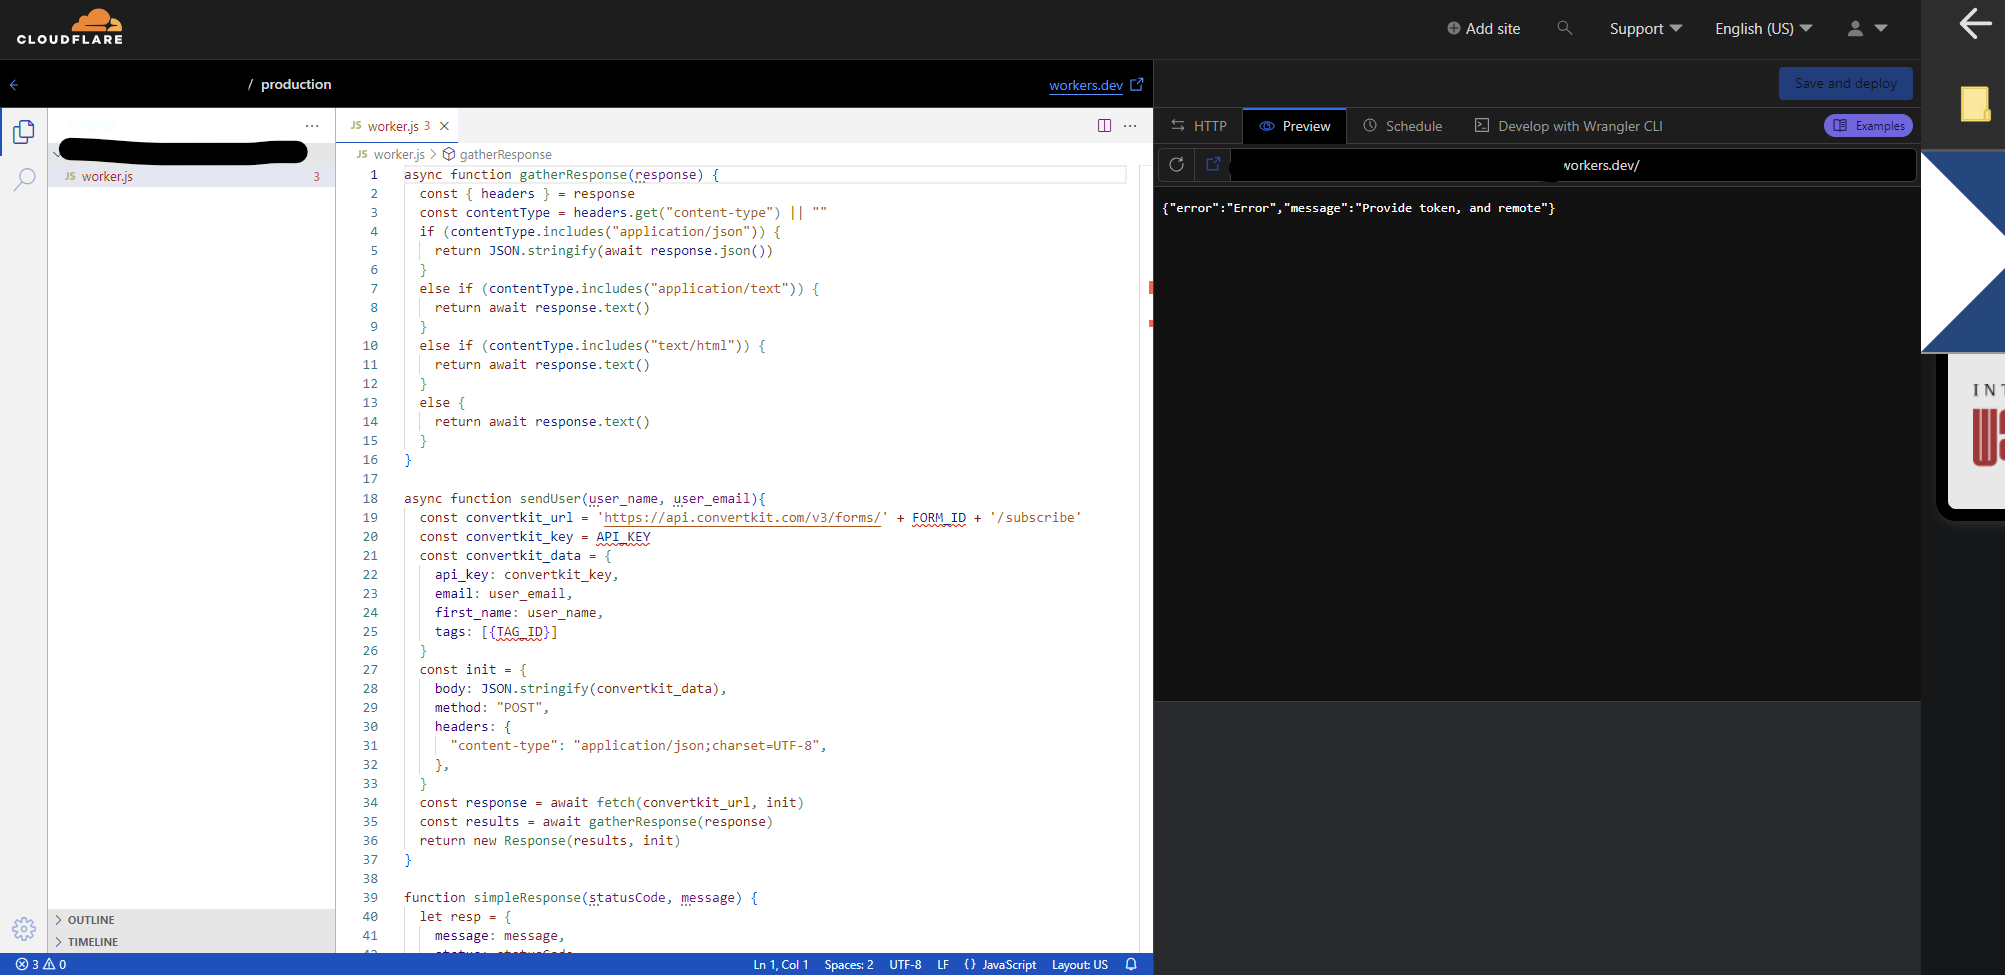
That was easy. Now select the "Create Application" button, then "Create Worker," give your worker a name, and press "Deploy." Now press the "Quick Edit" button and delete all the code in the left panel and replace it with the code below.
/*
Serverless Function to connect Ghost to ConvertKit
Required Enviroment Vairables:
API_KEY  -  Your ConvertKit API Key
FORM_ID  -  The ConvertKit form's ID you wish to subscribe users to
TAG_ID   -  Tag to mark users with in ConvertKit
Ghost Settings:
In Ghost create a new custom integration and add webhooks for new member and
updated member. Point the webhooks to your serverless function. (I'm running mine on Cloudflare Workers)
Note: To disable the Tag functionality simply comment out line 42. Tags are optional in ConvertKit.
Also, to find the FORM_ID and TAG_ID you will need to look at the URL in the ConvertKit dashboard.
*/

async function gatherResponse(response) {
  const { headers } = response
  const contentType = headers.get("content-type") || ""
  if (contentType.includes("application/json")) {
    return JSON.stringify(await response.json())
  }
  else if (contentType.includes("application/text")) {
    return await response.text()
  }
  else if (contentType.includes("text/html")) {
    return await response.text()
  }
  else {
    return await response.text()
  }
}

async function sendUser(user_name, user_email){
  const convertkit_url = 'https://api.convertkit.com/v3/forms/' + FORM_ID + '/subscribe'
  const convertkit_key = API_KEY
  const convertkit_data = {
    api_key: convertkit_key,
    email: user_email,
    first_name: user_name,
    tags: [{TAG_ID}]
  }
  const init = {
    body: JSON.stringify(convertkit_data),
    method: "POST",
    headers: {
      "content-type": "application/json;charset=UTF-8",
    },
  }
  const response = await fetch(convertkit_url, init)
  const results = await gatherResponse(response)
  return new Response(results, init)
}

function simpleResponse(statusCode, message) {
  let resp = {
    message: message,
    status: statusCode
  }

  return new Response(JSON.stringify(resp), {
    headers: new Headers([["Content-Type", "application/json"]]),
    status: statusCode
  })
}

addEventListener("fetch", event => {
  event.respondWith(WebhookHandler(event.request))
})

async function WebhookHandler(request) {
  if (request.method !== "POST") {
    return simpleResponse(
      200,
      `Please send a POST request :)`
    )
  }
  try {
    const formData = await request.json()
    const headers = await request.headers
    const user_email = formData.member.current.email
    const user_name = formData.member.current.name

    return await sendUser(
      user_name,
      user_email)

  } catch (e) {
    return simpleResponse(
      200,
      `Error:  ${e} `
    )
  }
}
After you've pasted in the code, click the "Save and Deploy" button. Now navigate back to the main workers page, which should now list your worker. Click your worker and select the "Settings" tab. In the settings tab, you will find a section containing your environment variables. We need to create a few variables to tell our code what to do.
Note: If you don't want to add a tag to ConvertKit subscribers, ignore the TAG_ID section and comment out line 42 of the code. It's optional.
- API_KEY - Your ConvertKit API key found in your ConverKit dashboard under Account Settings > Account Info > API Key. Be careful not to copy your API's secret. We only need the public API key.
- FORM_ID - The ConvertKit form's ID you wish to subscribe users to. If you don't already have a form, you may need to create one. It doesn't have to look pretty because no one should see it. Once you create your form, look at the page's URL. It should look like the example below. Copy over the form's ID and add it as an environment variable. https://app.convertkit.com/forms/designers/{FROM_ID}/edit
- TAG_ID - You find your Tag ID much like how you found the form ID. Go to your subscribers page, navigate down to where your tags are list, then click one. Now in this page's URL, you will find your Tag's ID. https://app.convertkit.com/subscribers?subscribable_ids={TAG_ID}&subscribable_type=tag
Wasn't too hard, right?
So once you've created all three environment variables, you're ready to tell Ghost where to send data. Head back into Cloudflare and grab your function's URL. It will probably look like something.something.workers.dev. Copy that URL and head over to Ghost.
In Ghost, click on the "Integrations" page.

Scroll down to "Add Custom Integration" and click.
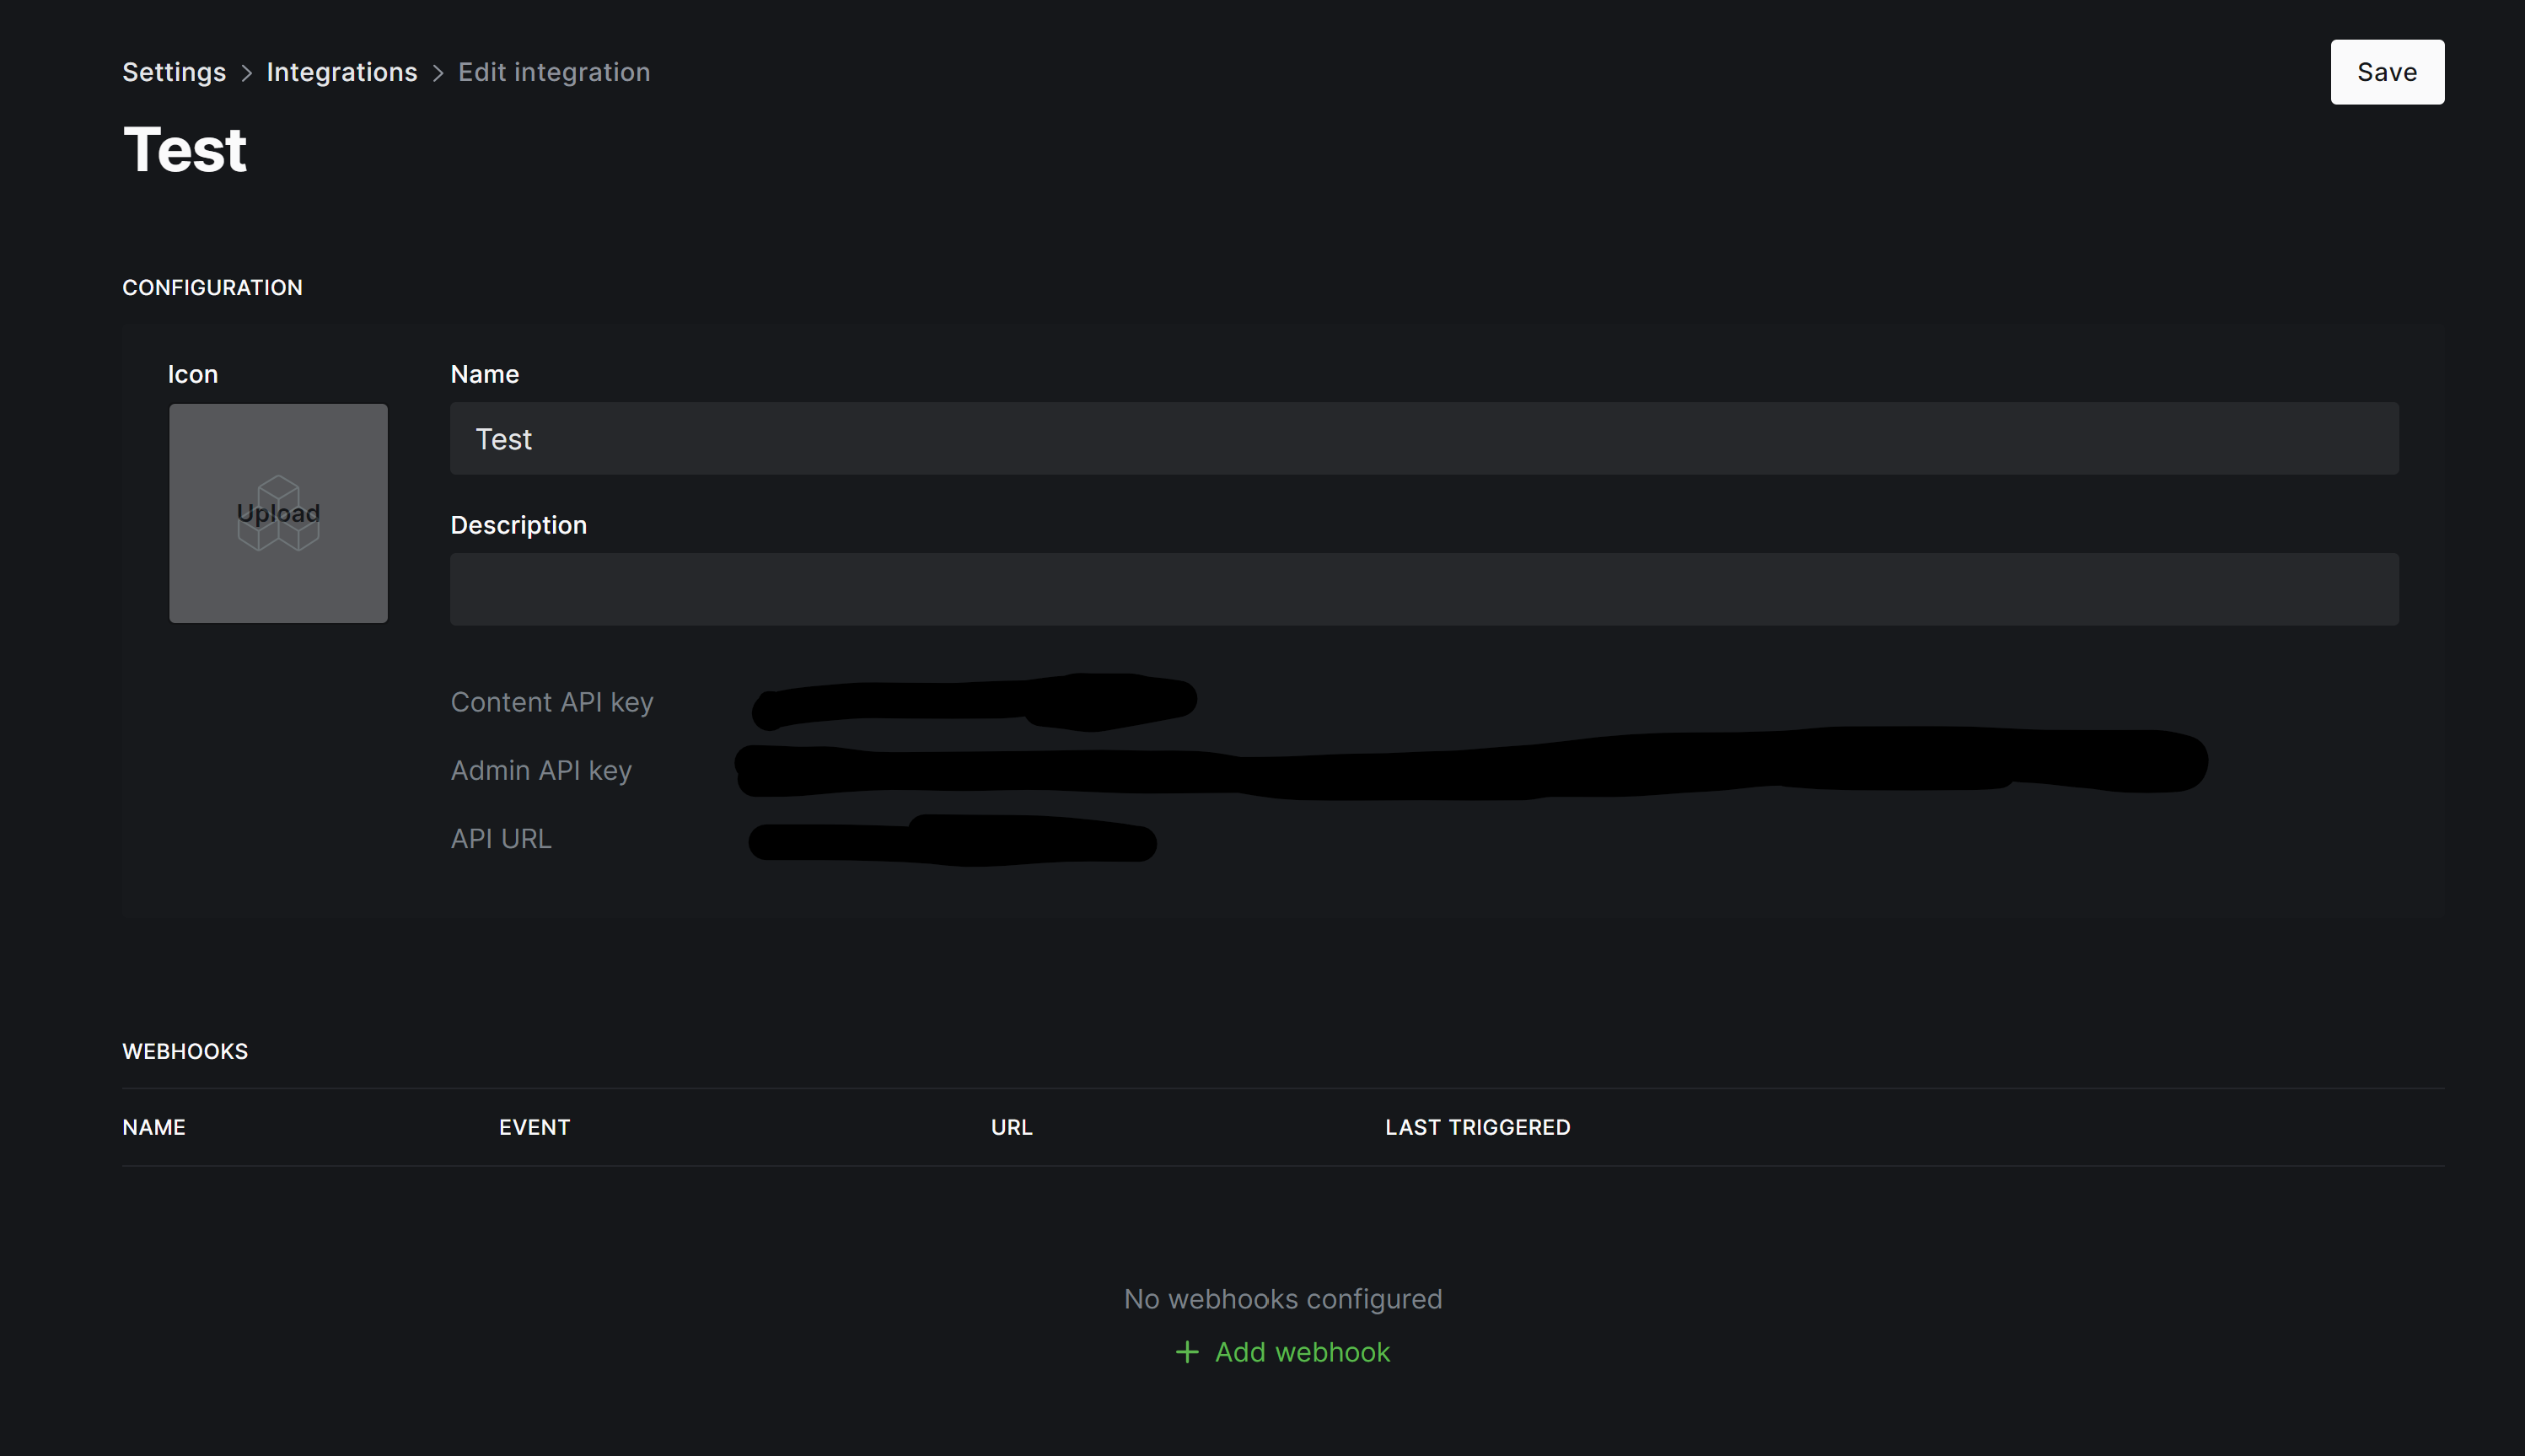
Give your integration a name (I called mine ConvertKit). Now click "Add Webhook" in the bottom part of the page.
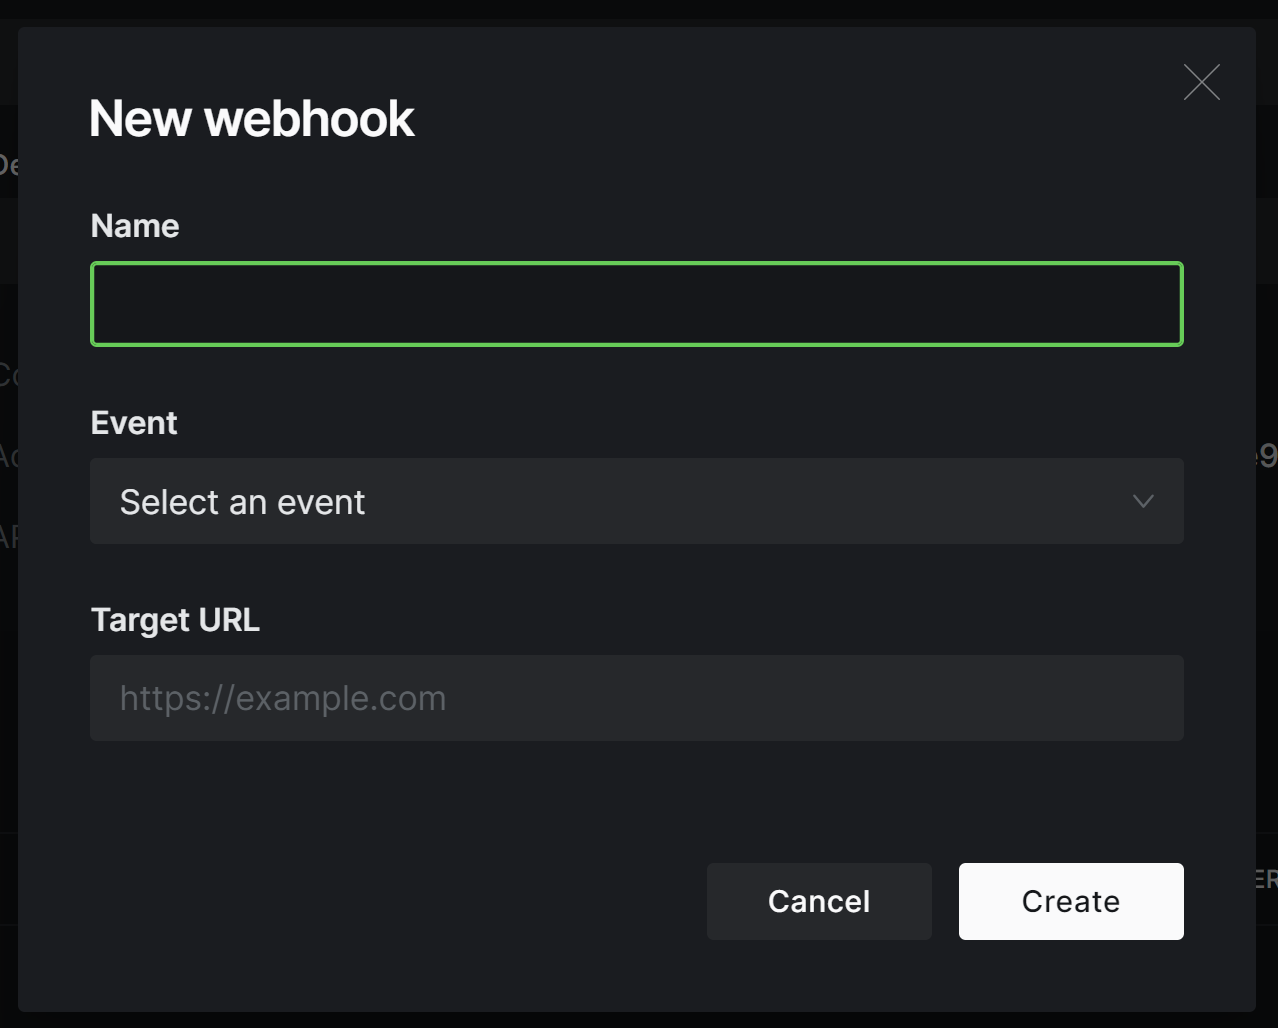
Enter "Send To ConvertKit," select the Member Added event for the webhook to fire on, paste your function's URL that we got from Cloudflare a few steps ago into the "Target URL" field, and click "Save." After that is complete, add another webhook, name it "Update ConvertKit," select the Member updated event, repaste the same function URL, and click "Save." Now navigate up to the top right-hand corner of the page and click "Save."
Yay! 🎉 ConvertKit should now be connected to your Ghost site. You can test things out by creating a new member in Ghost and watching it instantly be sent over to ConvertKit.
A few things to keep in mind.
- If someone unsubscribes from one, they won't unsubscribe from the other.
- Ghost won't be updated with subscriber data changed in ConvertKit (but Ghost member data will be updated to ConvertKit).
- Anyone can send over subscribers if they know your function's URL or know your ConvertKit public key. That's why it's a good idea to require double opt-in within ConvertKit. There's no real good way to fix that since ConvertKit accepts requests from anyone with your public key.
That's all for this post. If you have any questions/issues/ideas, reach out!